
The ankle is prone to twisting from either landing awkwardly or too sudden a change in direction. Taping up the ankle using the figure-8 technique helps provide support but still ensure sufficient movement in the ankle. Calvin Sim, a senior physiotherapist from Back2Sports.com.sg shows us how in this sports taping series.
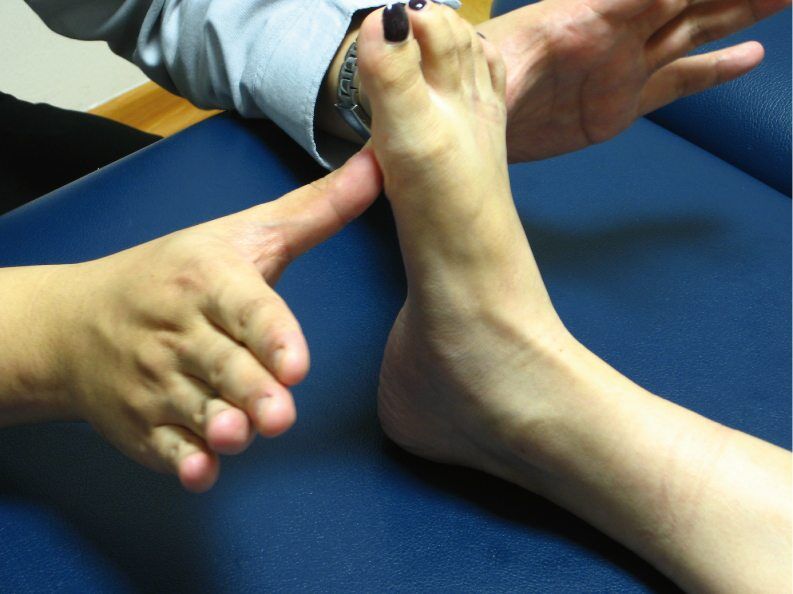
Figure 1:
- Push the foot back until it is a neutral position, roughly 90 degrees to the lower leg, as if you are standing upright on your foot. The athlete should hold this foot position during taping.
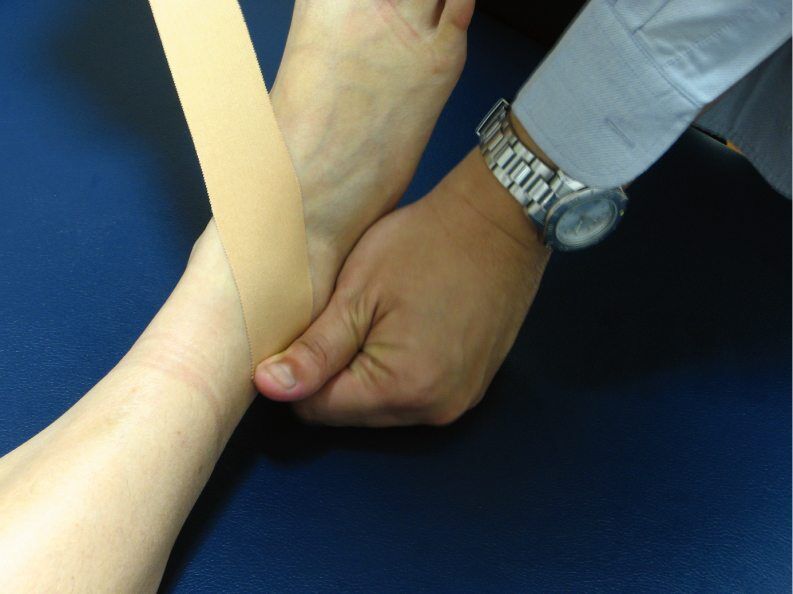
Figure 2:
- Starting from just ankle at the bone protrusion, tape down across the center point at where the ankle bends. Ensure that the tape is taut and smooth.
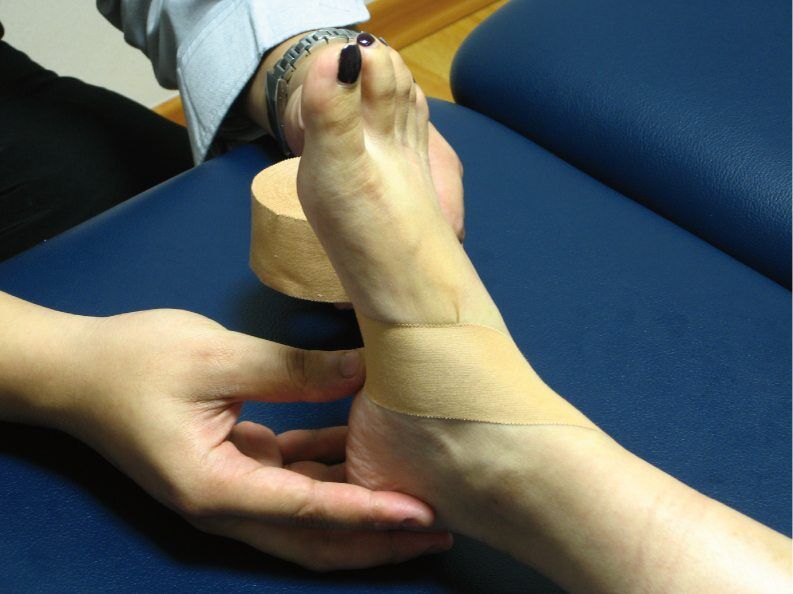
Figure 3:
- Tape the foot underneath the arch (closer to the heel).
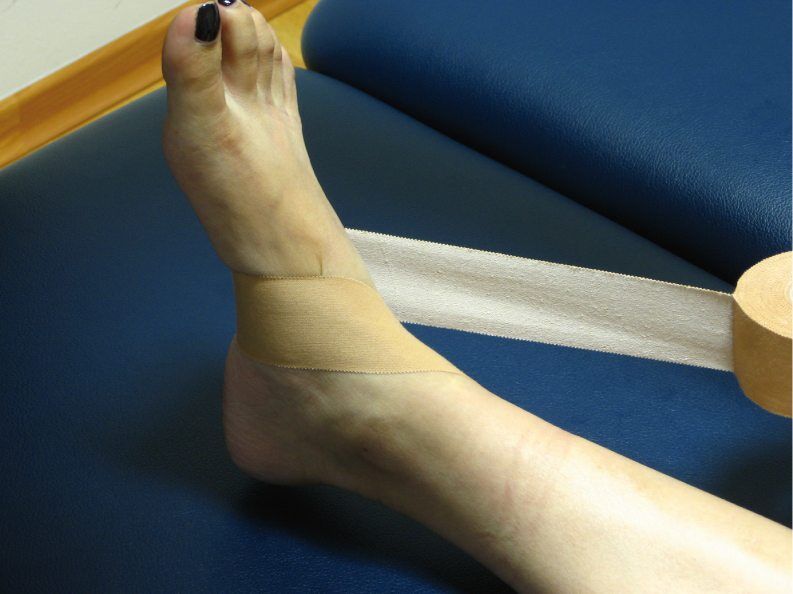
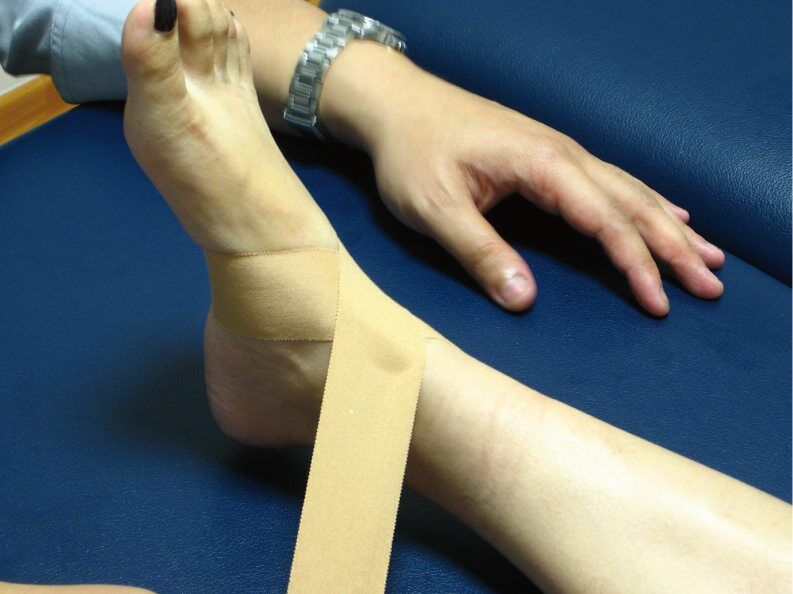
Figure 4 & 5:
- Continue to the other side.
- Pull the tape across the same center point at where the ankle bends forming an ‘X’.
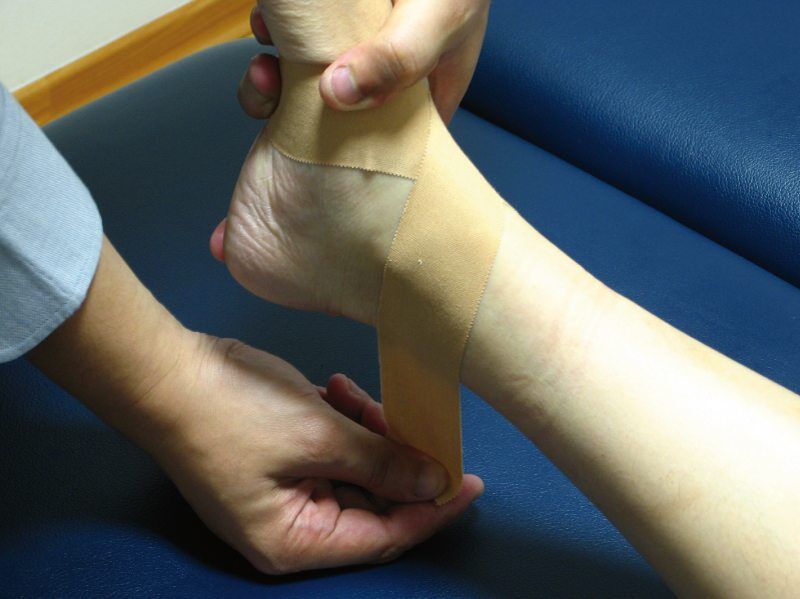

Figure 6 & 7:
- Pull the tape across the other bone protrusion.
- Wrap behind the ankle and end the tape at where it first started.
- Check to ensure that ankle can move freely and it not too tight.

Figure 8:
- For more support, repeat steps 2-7 for a second round of tape place slight off the first round.